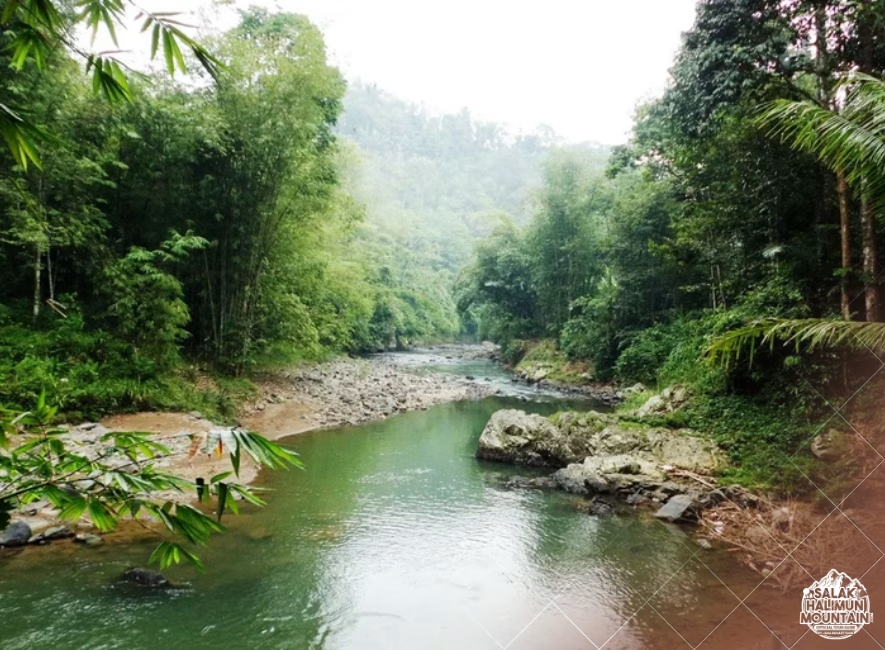
salakhalimunmountain.com – Trekking through the dense, multi-tiered rainforests of Mount Salak and Halimun National Park offers an immersive journey into one of Java’s most rugged wildernesses. Yet, beneath the thick canopy where game trails crisscross hiking paths, visibility vanishes in sudden fog, and heavy rain blurs terrain features, even experienced trekkers can make a wrong turn. Realizing you are off-route in deep rainforest can trigger a spike of adrenaline. However, correcting a navigation error in deep rainforest is not about luck—it is a calm, disciplined procedure that relies on immediate self-control, systematic backtrack protocols, and sharp spatial assessment.
In a tropical jungle, the natural human reaction to getting lost is to push forward aggressively, hoping the path will reopen or a landmark will appear just around the bend. In dense terrain, this instinct almost always compounds the error, driving you deeper into impassable ravines, thick rattan brakes, or dangerous volcanic drainages. By mastering a structured error-correction protocol, you can quickly halt lost momentum, re-establish your location, and safely return to your intended line.
The Psychology of Lost Momentum: The S.T.O.P. Protocol
The moment you suspect you have lost the trail or taken a wrong turn, your most powerful navigational tool is mental discipline. Psychological stress distorts judgment, leading to rushed decisions and erratic movement. The universal foundation for correcting any land navigation mistake begins with the classic S.T.O.P. framework.
S — Stop: The instant the path feels wrong—when overhead clearance drops, foot tread vanishes, or vegetation becomes unbroken—stop moving immediately. Do not take “just ten more steps” forward. Freeze in place, plant your trekking poles, and take a deep breath.
T — Think: Remind yourself that you were on a known, confirmed path a short time ago. Your location is not completely unknown; it is simply slightly offset from your last confirmed position. Cool-headed logic must replace fear.
O — Observe: Look around carefully without stepping away from your current spot. Examine the ground for your own recent boot prints or crushed leaves. Check your compass heading, read your altimeter elevation, and note the position of the slope relative to your body.
P — Plan: Formulate a calm, methodical strategy to retrace your steps or re-orient yourself using map and compass principles. Never move until you have a clear, reasoned plan.
Executing the 100-Meter Backtrack Rule
In dense rainforests, the most reliable way to fix a navigation error is almost always to retrace your exact physical steps back to your last known point of certainty (a marked trail junction, a distinctive river crossing, or a clear ridge notch).
If you realize you have stepped off-trail, turn 180 degrees and look closely at the ground behind you. Look for freshly turned leaves, bent ferns, or broken twigs that mark your recent entry path. Carefully retrace these micro-tracks backward. If you retrace 50 to 100 meters and still cannot locate the main trail, stop again. Do not wander aimlessly in search of the path; transition to a structured search grid.
Isolating Your Error Window using Time and Elevation
To fix your location on a map, you must define your “error window”—the physical boundaries of where you could possibly be. You can narrow this down significantly by cross-referencing two metrics: your last confirmed time and your current altimeter reading.
Ask yourself: When was the last time I was 100% sure I was on the main trail? If you were on a clear, marked trail 20 minutes ago and you walk at an average jungle speed of 1.2 km/h, you cannot be more than 400 meters away from that confirmed location. This simple calculation creates a tight search radius on your topographic map.
Combining Elevation Data with Drainage Basins
Next, check your barometric altimeter. If your altimeter reads 1,250 meters and your last confirmed point was a ridge junction at 1,320 meters, you know you have descended 70 vertical meters down a slope or spur line.
Overlay this elevation figure onto your topographic map within your 400-meter time radius. Look for drainage gullies, spur lines, or side valleys that drop from 1,320 meters down to 1,250 meters. This intersection of time distance and elevation contour eliminates 90% of the surrounding map, pinpointing your probable position along a specific terrain contour.
Executing a Controlled Spiral or Box Search
If you are within 50 to 100 meters of the trail but thick undergrowth hides it from view, wandering around randomly will only cause you to walk in circles. To locate the main trail safely, perform a geometric sweep known as a box or spiral search.
Select a distinct central anchor point—such as a large, memorable canopy tree or a prominent boulder—and mark it clearly with a bright piece of gear or surveyor tape. This anchor is your safe base point. Walk outward along a strict compass bearing (e.g., due North) for 15 paces while scanning eye-level and ground-level clearances for the main trail.
If you do not cross the trail, turn 90 degrees right (due East) and walk 15 paces, then 90 degrees right again (due South) back toward your line. By systematically expanding your search legs in a geometric square around your marked base point, you cover 360 degrees of surrounding terrain without ever getting lost or losing touch with your starting position.
Using Linear “Handrails” and “Catching Features”
When off-route, terrain features on a topographic map can act as natural barriers that prevent you from drifting too far. In land navigation, these are known as handrails and catching features.
A **handrail** is a prominent, linear terrain line that runs parallel to your direction of travel—such as a major river valley, a distinct ridge spine, or a baseline forestry road. If you stay parallel to your handrail, you maintain a strong directional boundary.
A **catching feature** is a continuous, unmistakable terrain barrier that runs perpendicular to your path ahead—such as a roaring main river at the bottom of a canyon, a sheer rock wall, or a major cross-country ridge. Before hiking any leg in Halimun Salak, identify a catching feature on your map (e.g., “If I hit a major stream flowing west, I have gone 300 meters too far down the slope”). When you hit your catching feature, stop immediately; it alerts you that you have reached your maximum error boundary and must re-orient.
When to Stay Put and Establish a Static Base
There are conditions where attempting to move or correct a navigation error becomes more dangerous than staying in place. If dense fog drops visibility to zero, if nightfall approaches within 30 minutes, if a group member is injured, or if you are physically exhausted, suspend all navigation efforts immediately.
Shift your focus from navigation to shelter and survival. Move to the nearest safe, flat micro-location away from falling branch hazards, flash-flood stream beds, and sheer cliff drops. Put on warm insulation, deploy your emergency shelter or rain fly, and blow three sharp blasts on your emergency whistle at regular intervals. Staying stationary in a secure spot conserves body heat, prevents accidental falls, and makes it vastly easier for park rangers or local search teams to locate you.
Correcting a navigation error in deep rainforest is the ultimate test of wilderness self-reliance. By staying calm, adhering to the S.T.O.P. principle, systematically retracing your steps, and cross-referencing your map tools, you transform a moment of uncertainty into a controlled, professional recovery. Mastering these techniques ensures that every trek across Mount Salak and Halimun National Park remains a safe, empowering adventure.
So, if you’re ready to explore the wonders of Mount Salak Halimun, head over to our ONLINE BOOKING PAGE and let’s start planning your adventure. Or simply CLICK THIS LINK to chat with us on WhatsApp.
With our team, you’re not just getting a guide; you’re gaining a local friend who will ensure your trip is nothing short of extraordinary.